Flipline Rewind: Papa’s Paleteria To Go!

We hope everyone has been enjoying Papa’s Paleteria To Go!
We usually don’t have many drawings from the development of our games, but for Paleteria, we created a lot of sketches while planning how the game would work. We thought it would be fun to do a special edition of Flipline Rewind, sharing some of these early sketches to give everyone a small peek into what goes into the game development process. Click each of the sketches below to see a larger version!
Build Station
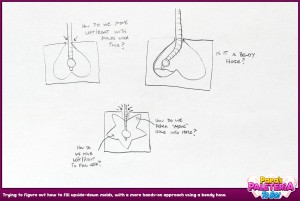
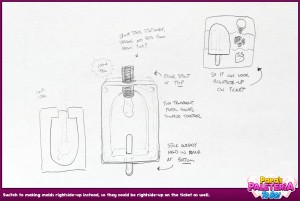
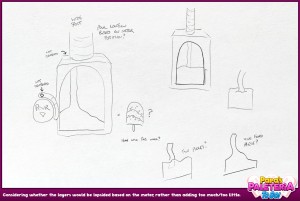
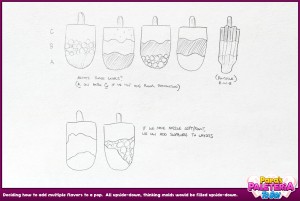
Initially, we thought the paleta molds would be upside-down, meaning you’d add the top layer first, then the middle, and finally the bottom, which is how real ice pop molds are usually set up. Many of our sketches show the paletas and molds this way. One of our main concerns was how what you see on the ticket matches what the customer holds in the end. If you were adding fillings upside-down, they would need to appear upside-down on the ticket too, so everything would be flipped when the customer held it! Ultimately, we decided it was more important for the paleta to stay right-side-up at the Build Station, so Papa Louie has specially-made molds with tubes and channels for the fillings.
|
|
|
|
Layering Paletas
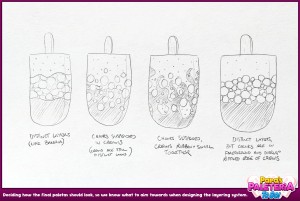
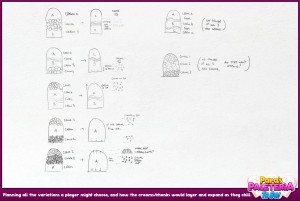
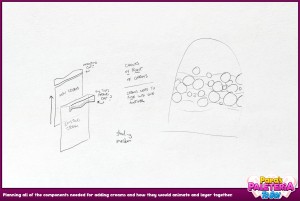
We also had to decide how we wanted the paletas to look once they were made, as this would guide the design of the layering system and all the components needed to achieve the final appearance. You’ll see in these sketches that the paletas are still shown upside-down, as we hadn’t yet rotated the molds. Early on, we decided to always have three fillings, rather than keeping it open-ended like Bakeria’s pies.
|
|
|
|
|
Topping Station
We wanted to do something different with the toppings for Paleteria: Instead of just adding shakers and drizzles across the entire pop, we wanted players to be able to change the angle of the toppings being added. We had seen some great examples of fancy paletas decorated this way, and we wanted to capture that look for this game. This, of course, introduced new challenges, especially regarding the hands-on experience. Instead of dragging food left and right to pour toppings evenly, the “precision” part of the gameplay would involve dragging the paleta to the correct angle before adding the topping. Some initial sketches had the paleta suspended above, where you would dunk it into a bin below. When we decided to move the paleta into a falling “waterfall” of toppings instead, we needed to come up with a way to choose the topping first.
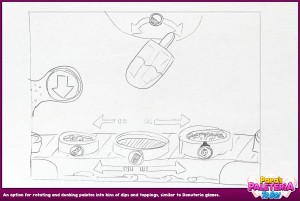
|
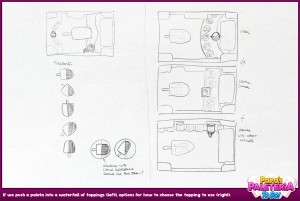
|
|
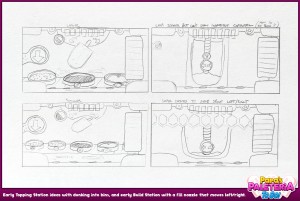
|
Drizzles
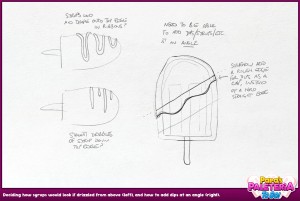
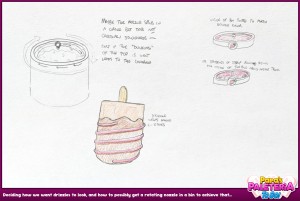
Drizzles were tricky to figure out, especially when we were thinking of dunking the paleta into round bins below. We brainstormed a bunch of ideas for nozzles and revolving sprayers, but streams drizzling downwards made the most sense. We sketched out how the drizzles might interact with the top edge of the paleta, and ultimately wanted it to ribbon across the whole surface.
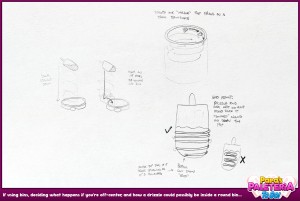
|
|
|
|
Tickets and Rotations
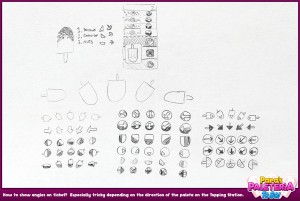
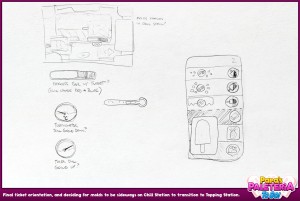
We spent a lot of time thinking about how to make topping angles and rotations clear on the ticket. Originally the paleta was upside-down in the Build Station, and upside-down on the Topping Station if we were dunking it into bins. Should we make the rotation symbols relate to how the paleta looks right-side-up when the customer is holding it? Or also make them upside-down since the paleta is built that way? When we decided the paleta on the Topping Station would be sideways, we had the symbols relate to that position, and also made them look a bit like arrows so it was clear how to angle them. We also needed a natural way for molds to transition to this sideways rotation so players could keep track of what they were working on, so we had the molds turn sideways on the Chill Station once you add them to the freezer.
|
|
There were many other adjustments made as we worked on the game, but this provides just a glimpse into the planning stages before we begin programming or designing the final assets used in the game!
Papa’s Paleteria To Go! is available on iOS and Android!
![]()


