Hey Everyone!!!
Well here we are… the moment you have all been waiting for… Papa’s Pastaria To Go will be coming to phones and tablets in the very near future!
Stay tuned for more sneak peeks of Papa’s Pastaria To Go!
Hey Everyone!
We have some great news for you, Papa’s Sushiria To Go will be launching this
Wednesday, April 22nd, 2020! That’s only 2 days away!!!
Hey Everyone!
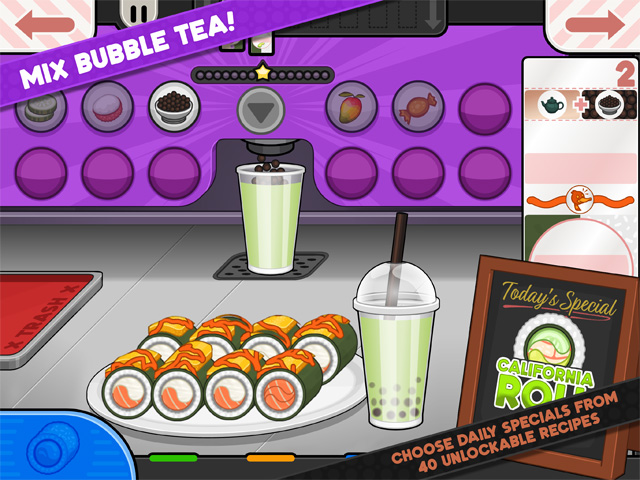
We have another sneak peek for you all… The Tea Station!
This is the final step in the order production where you mix the customer’s bubble tea. You will need to properly add the milk, tea flavor, and most importantly, the bubbles.
Stay tuned for more sneak peeks of Papa’s Sushiria To Go!
